Hoe Google Analytics in te stellen
Google Analytics wordt gebruikt om webverkeer te bekijken en te begrijpen.
Het is gratis en gemakkelijk te gebruiken.
U kunt het voor veel gebruikssituaties aanpassen.
Het werkt uit de doos.
Het is snel op te zetten. Ontvang vandaag nog uw inzichten!
Maak mijn gratis website ❯Sla het lezen over Google Analytics over. Breng me direct naar de eerste stap. Ga naar de eerste stap
Wat is Google Analytics
Google Analytics is een oplossing voor webanalyse.
Het is ontwikkeld en ondersteund door Google.
De nieuwste versie heet Google Analytics 4.
Het kan worden gebruikt om gegevens zoals doelgroep, paginaweergaven, sessies en demografische gegevens en evenementen te bekijken.
Waarom Google Analytics inschakelen?
Begrijp uw webverkeer om betere beslissingen te nemen.
Begrijp en verbeter de verkooptrechter.
Leer van experimenteren (bijvoorbeeld a/b-tests).
Google heeft een andere oplossing genaamd Google Optimize. Deze oplossing is gemaakt om te testen.
Voor wie is Google Analytics bedoeld?
Google Analytics is handig voor iedereen die een website heeft.
Het geeft u informatie over wie uw site gebruikt en hoe ze ermee omgaan.
Bovendien is de interface gemakkelijk te begrijpen.
U hebt geen analytische achtergrond nodig om de service te gebruiken en te navigeren.
Stap voor stap Google Analytics instellen
Google Analytics kan op twee manieren worden ingesteld: de Global Website Tag (gtag.js) of Google Tag Manager .
De eenvoudigste manier is om The Global Website Tag te gebruiken.
In deze zelfstudie wordt de methode The Global Website Tag gebruikt.
Voorbereidende werkzaamheden
Bepaal welke code-editor u wilt gebruiken en stel uw omgeving in.
W3Schools heeft een gebruiksvriendelijke code-editor gemaakt met de naam W3Schools Spaces . Meld u aan en ga met een paar klikken aan de slag.
Begin gratis ❯Maak uw index.html -bestand zodat u klaar bent om de code in te voeren.
Alle instellingen. Laten we gaan!
Google Analytics instellen: de wereldwijde websitetag
Stap 1: Maak een Google Analytics-account aan
Ga naar Analytics: Maak een account aan of log in op Analytics
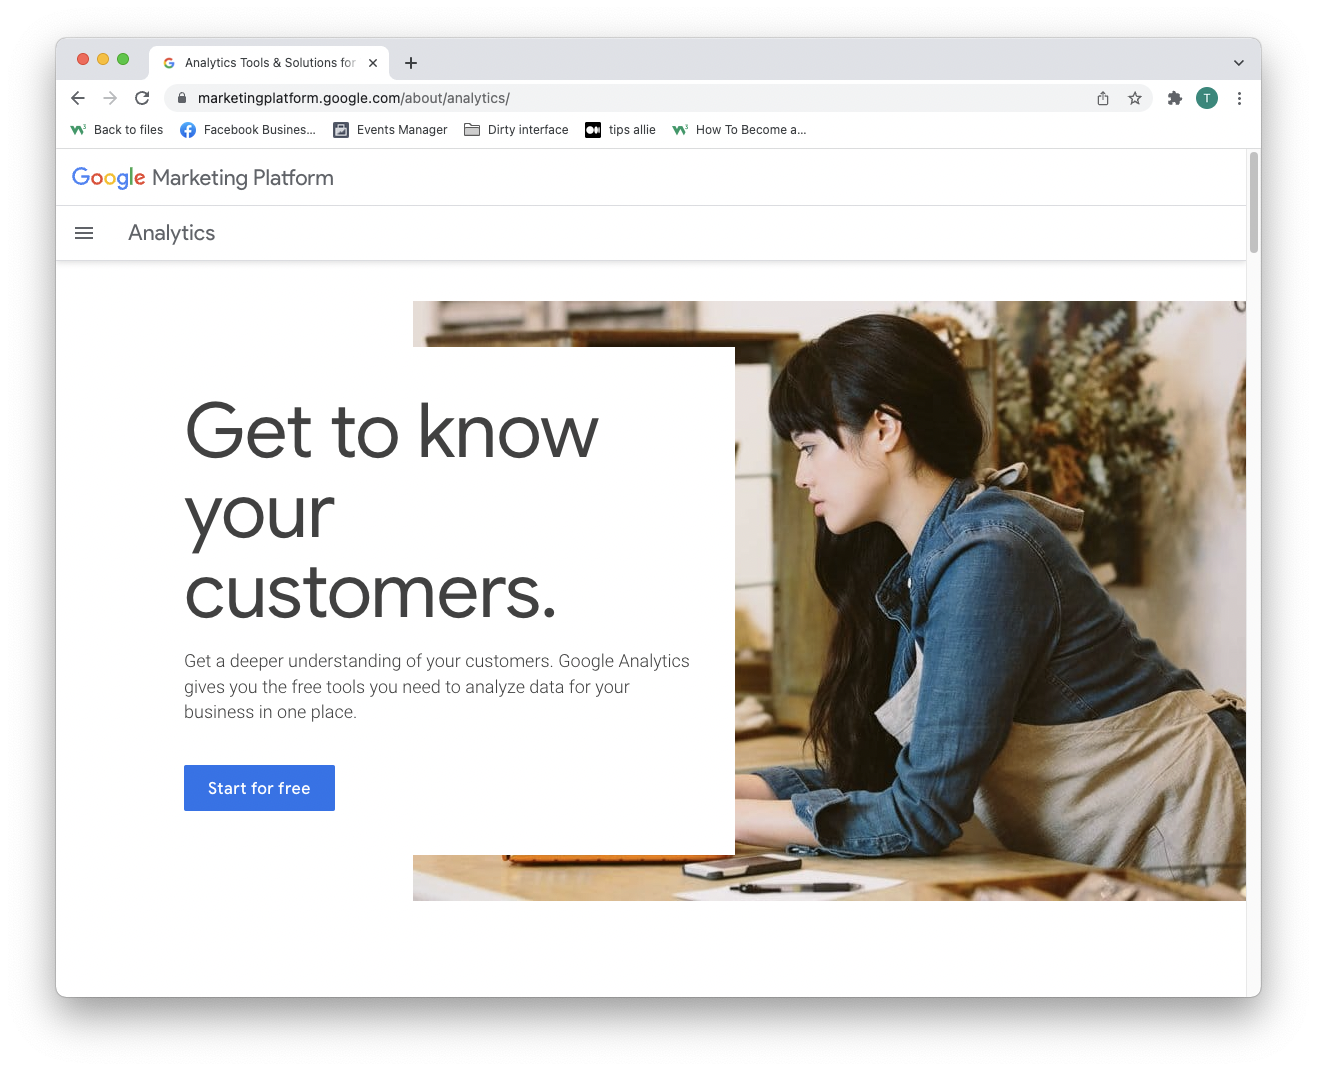
De link in de bovenstaande paragraaf brengt u naar de Google Analytics-bestemmingspagina.
Klik op de knop "Gratis starten".
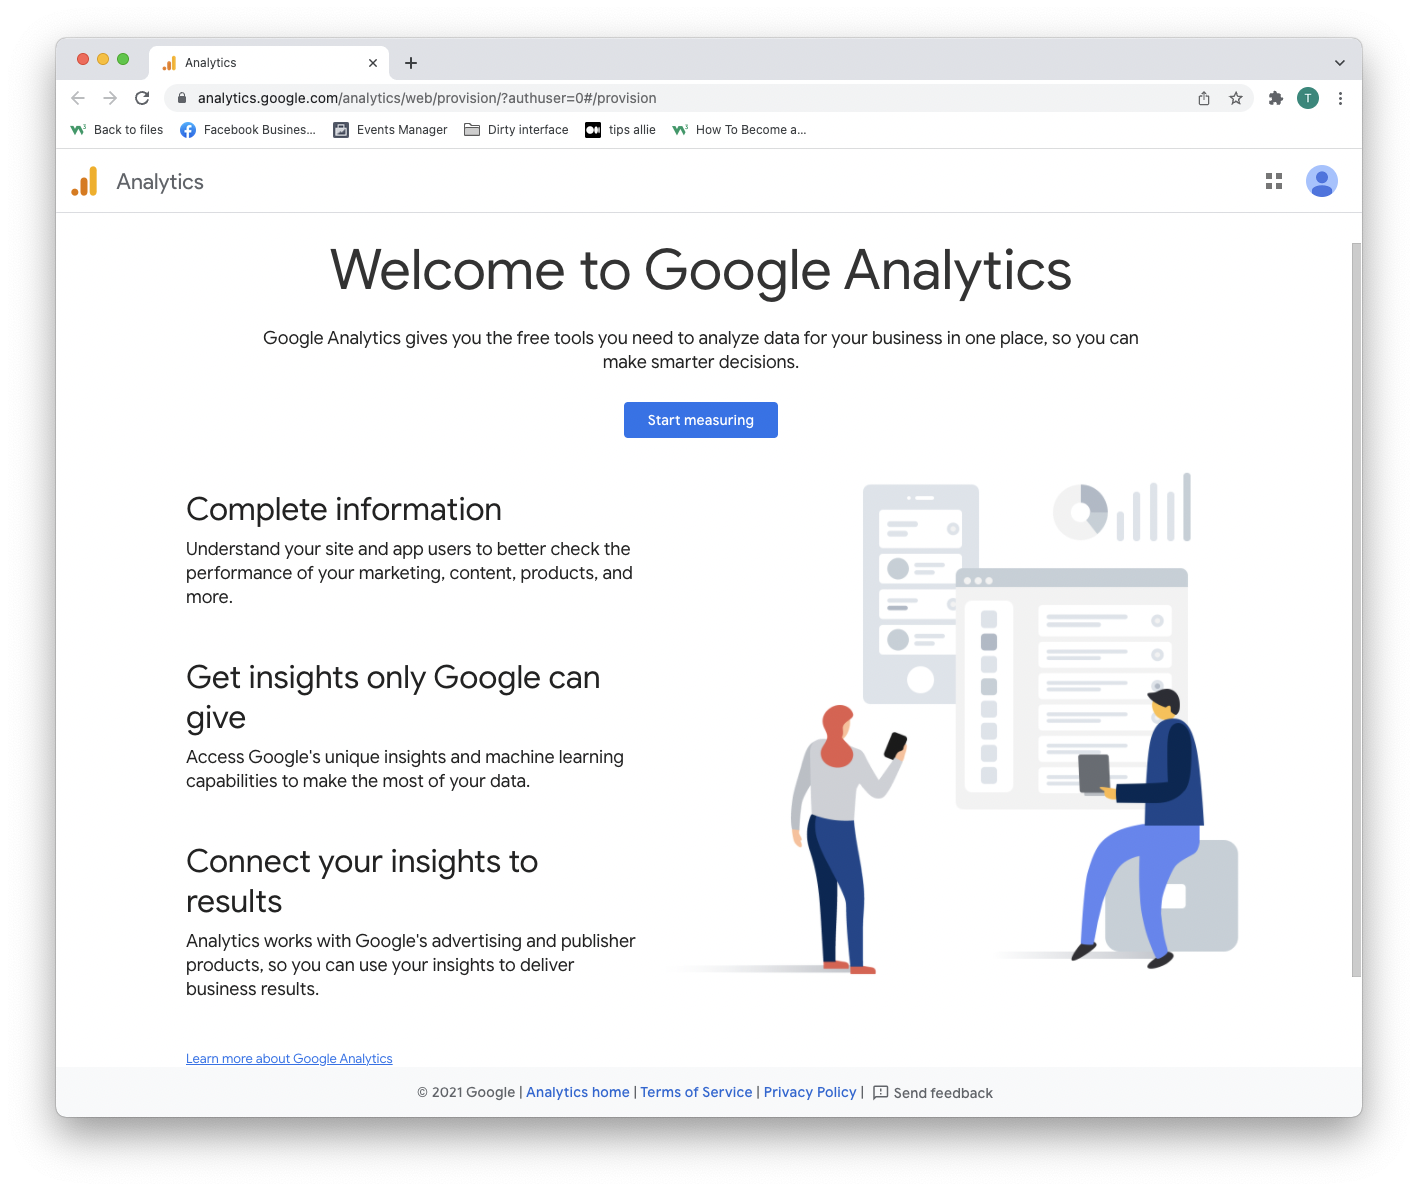
Stap 2: Ga naar de welkomstpagina
Na het aanmaken van een account of inloggen, wordt u welkom geheten bij de oplossing.
Druk op de knop "Start meten" om verder te gaan.
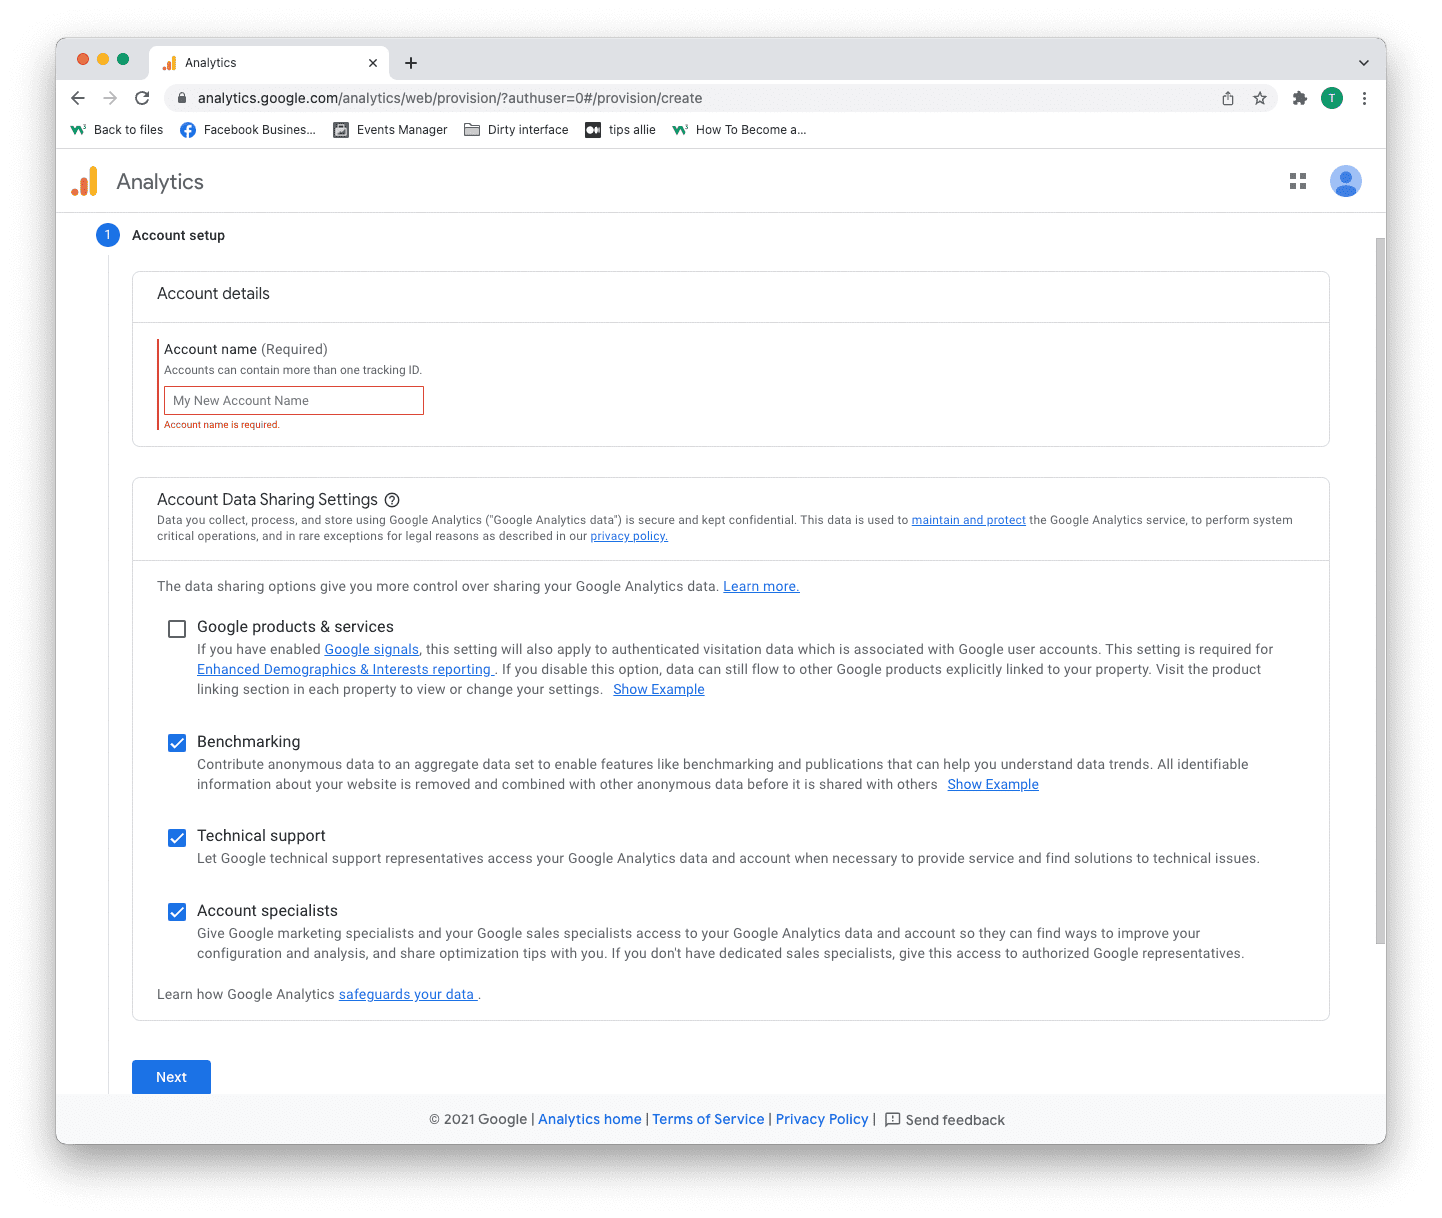
Stap 3: Account instellen
U moet hier twee beslissingen nemen.
- Voer uw accountnaam in.
- Bepaal welke gegevens u wilt delen.
- Klik op de knop "Volgende".
Eén account kan meer dan één tracking-ID hebben. U kunt meer dan één website volgen met een account.
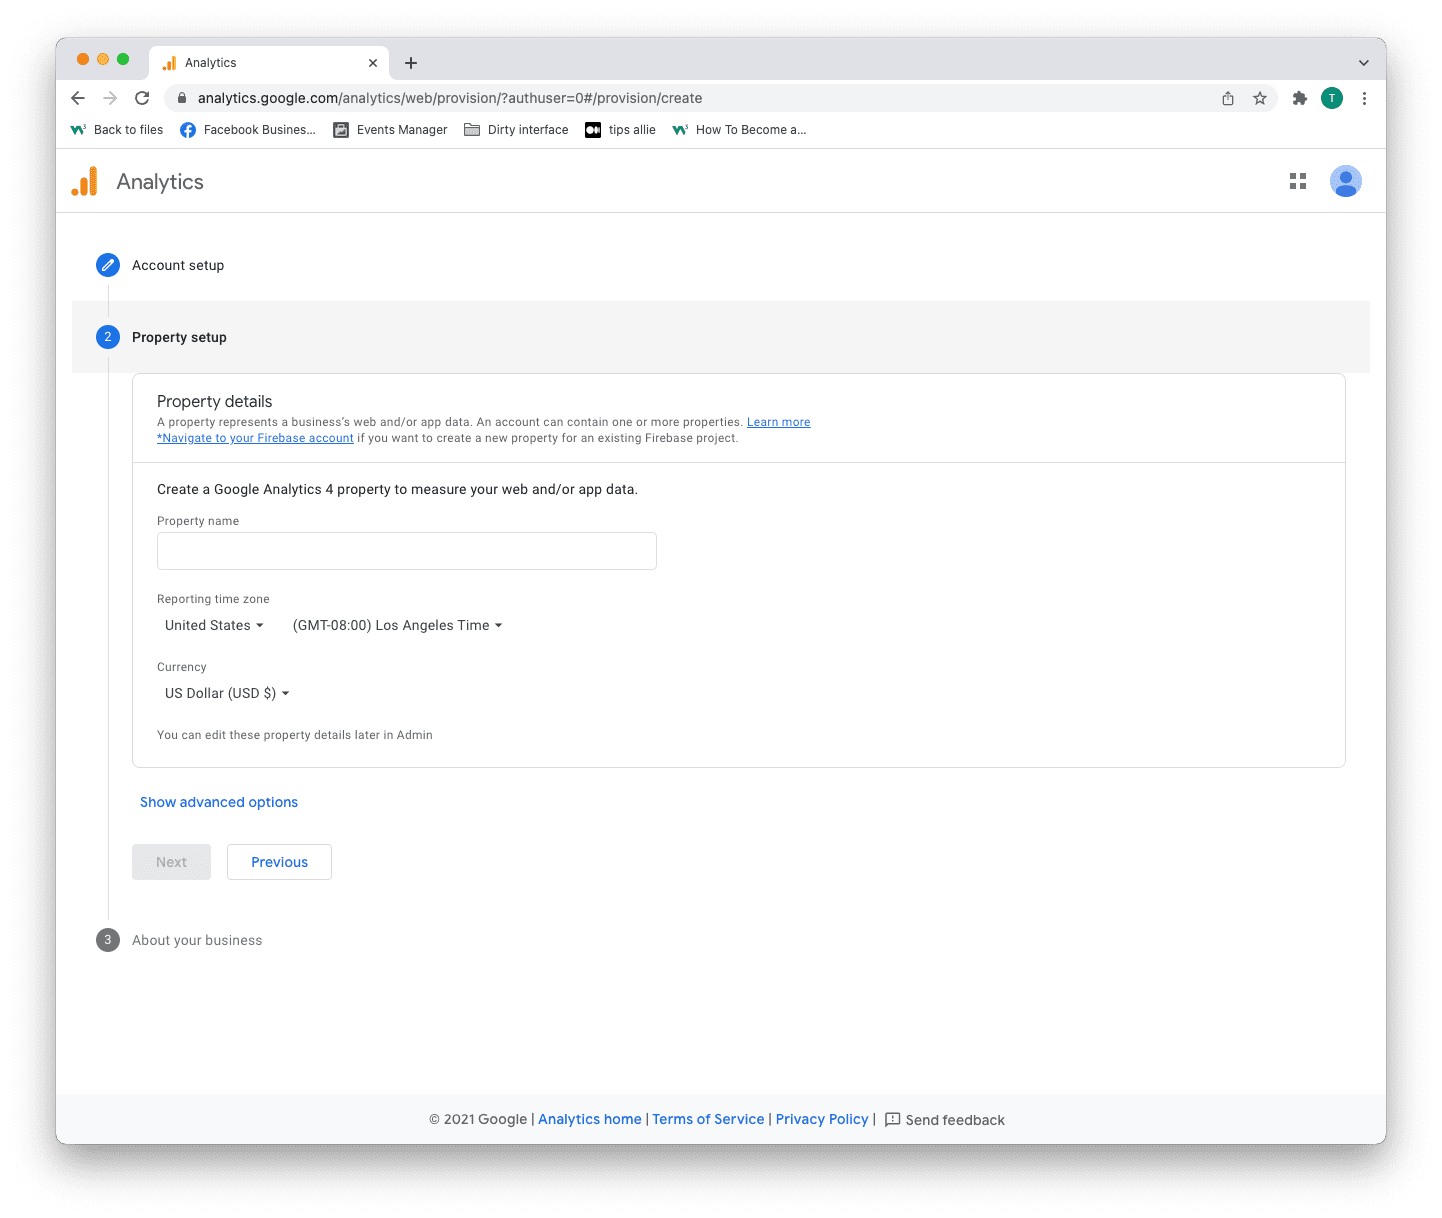
Stap 4: Eigenschap instellen
Property is de dienst die je meet, zoals een website, applicatie, link tree, etc.
- Voer een eigenschapsnaam in.
- Vul uw tijdzone in.
- Voer de valuta in die u gebruikt.
- Klik op de knop "Volgende".
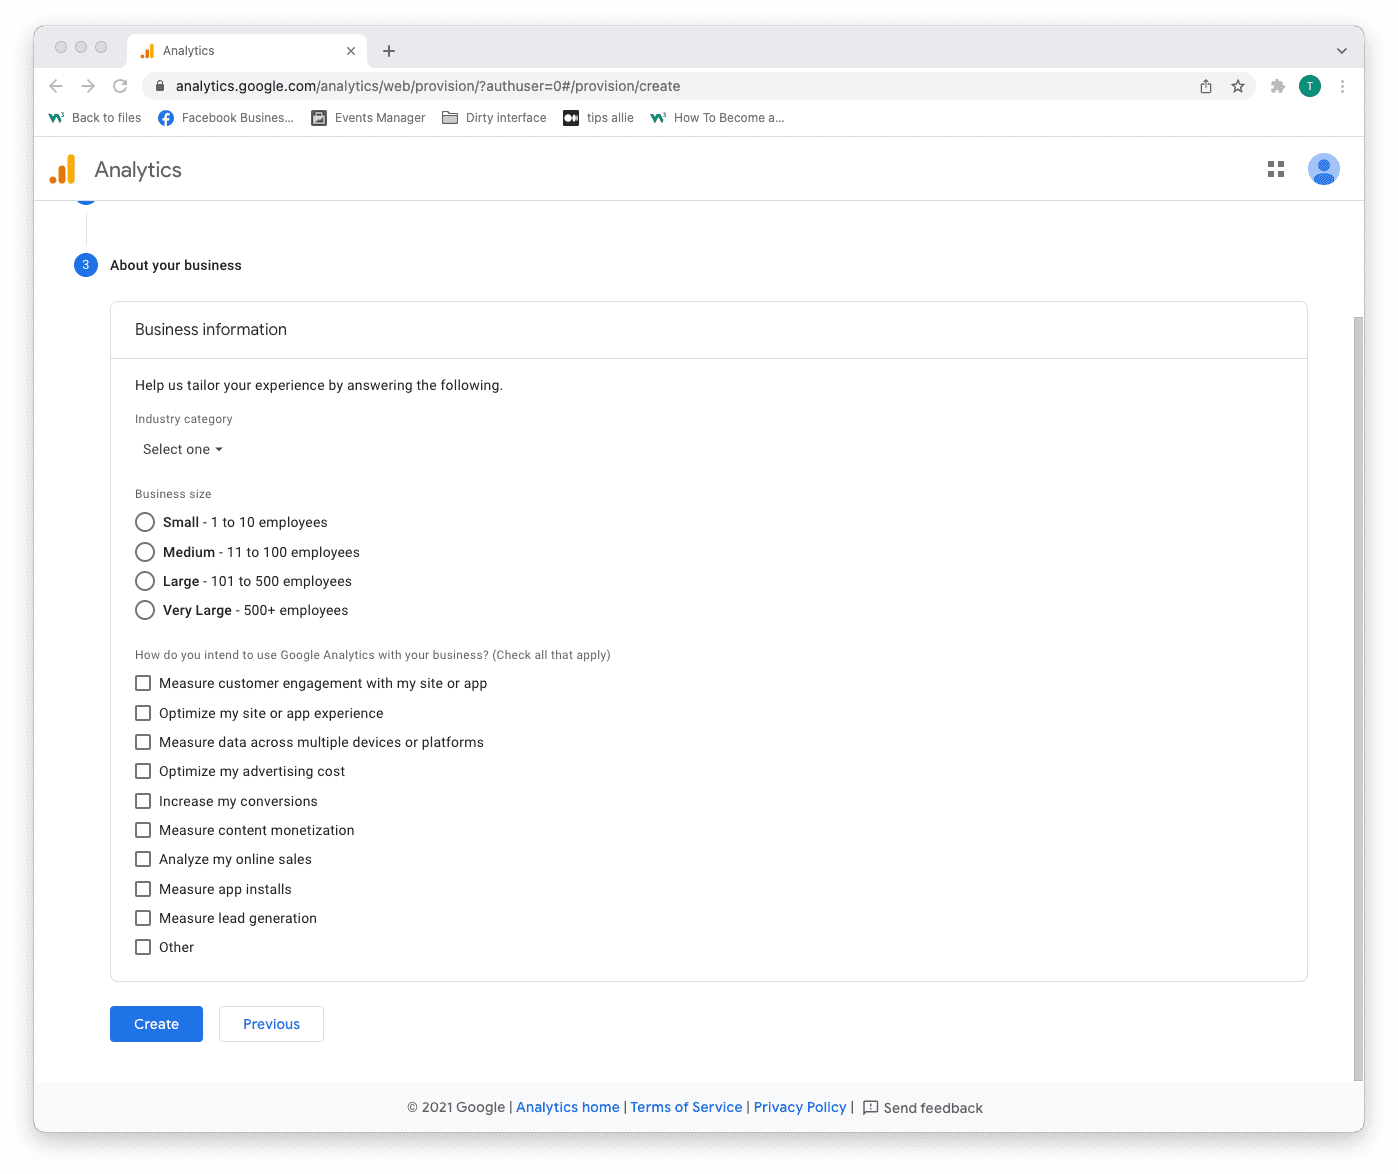
Stap 5: Bedrijfsinformatie toevoegen
Analytics gebruikt de informatie om uw ervaring aan te passen.
- Selecteer uw branchecategorie.
- Selecteer bedrijfsgrootte.
- Tick the boxes for how you are planning to use Analytics.
- Click the "Create" button to proceed.
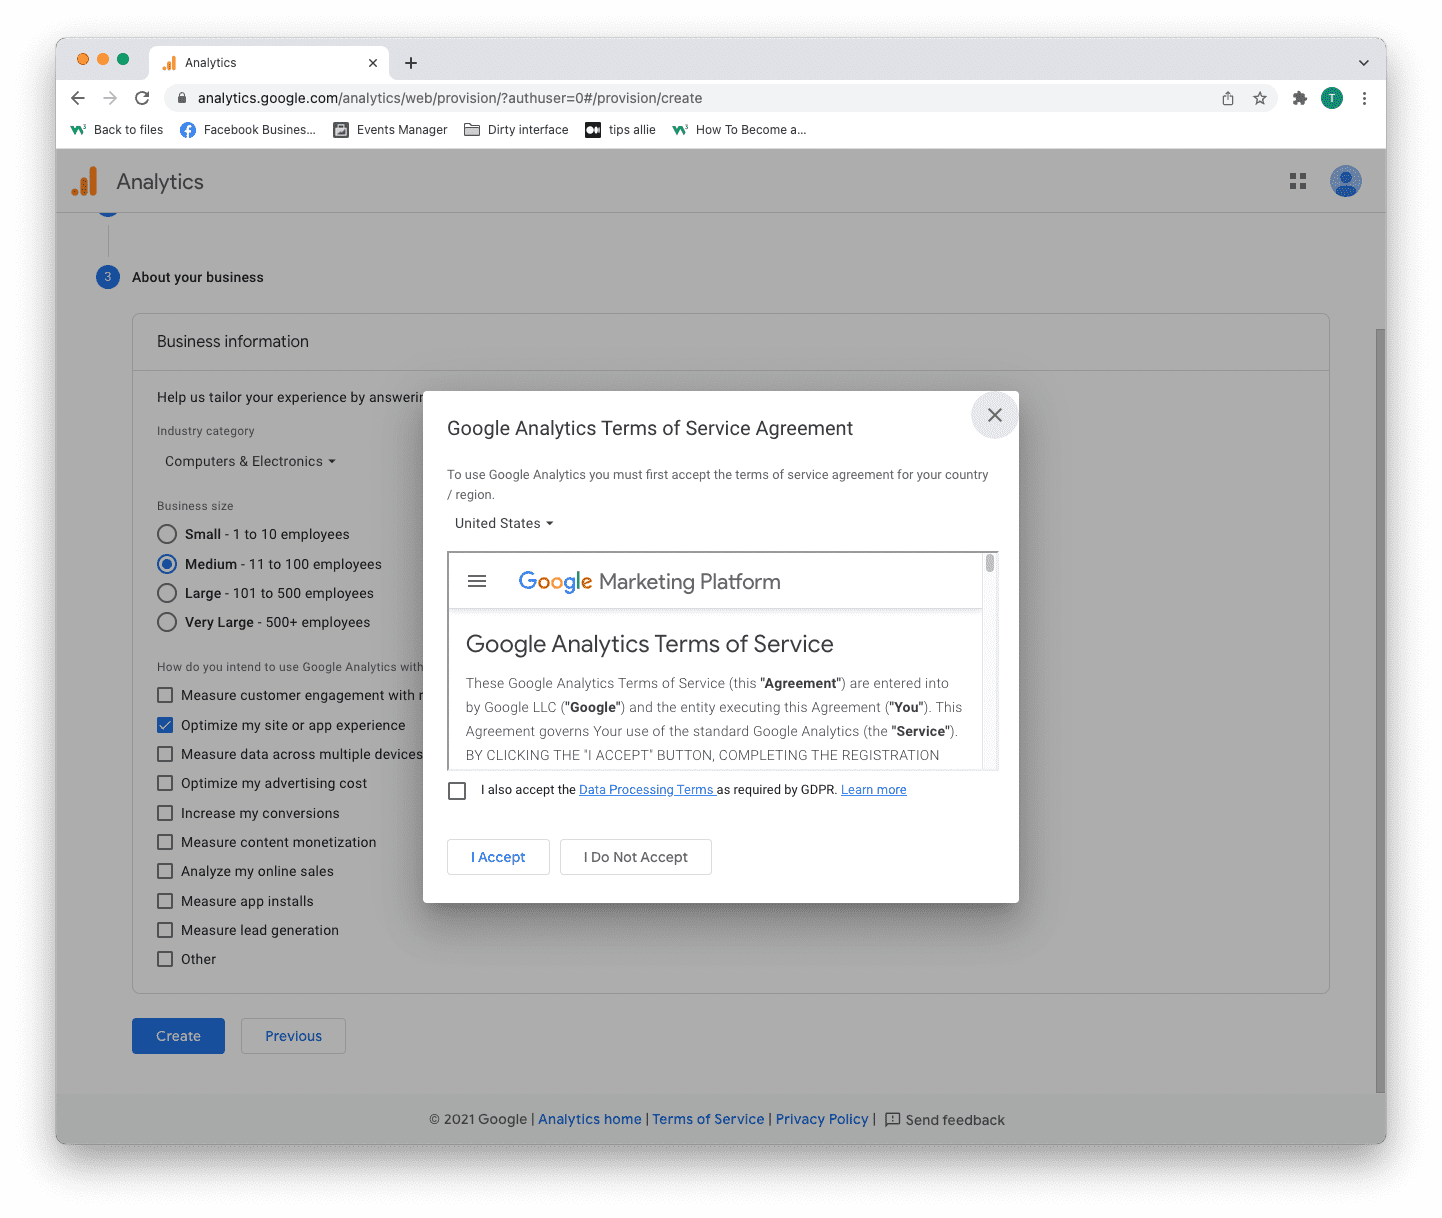
Step 6: Terms of Service Agreement
Read and understand the terms of service.
Tick the GDPR box and click the "I accept" button if you agree.
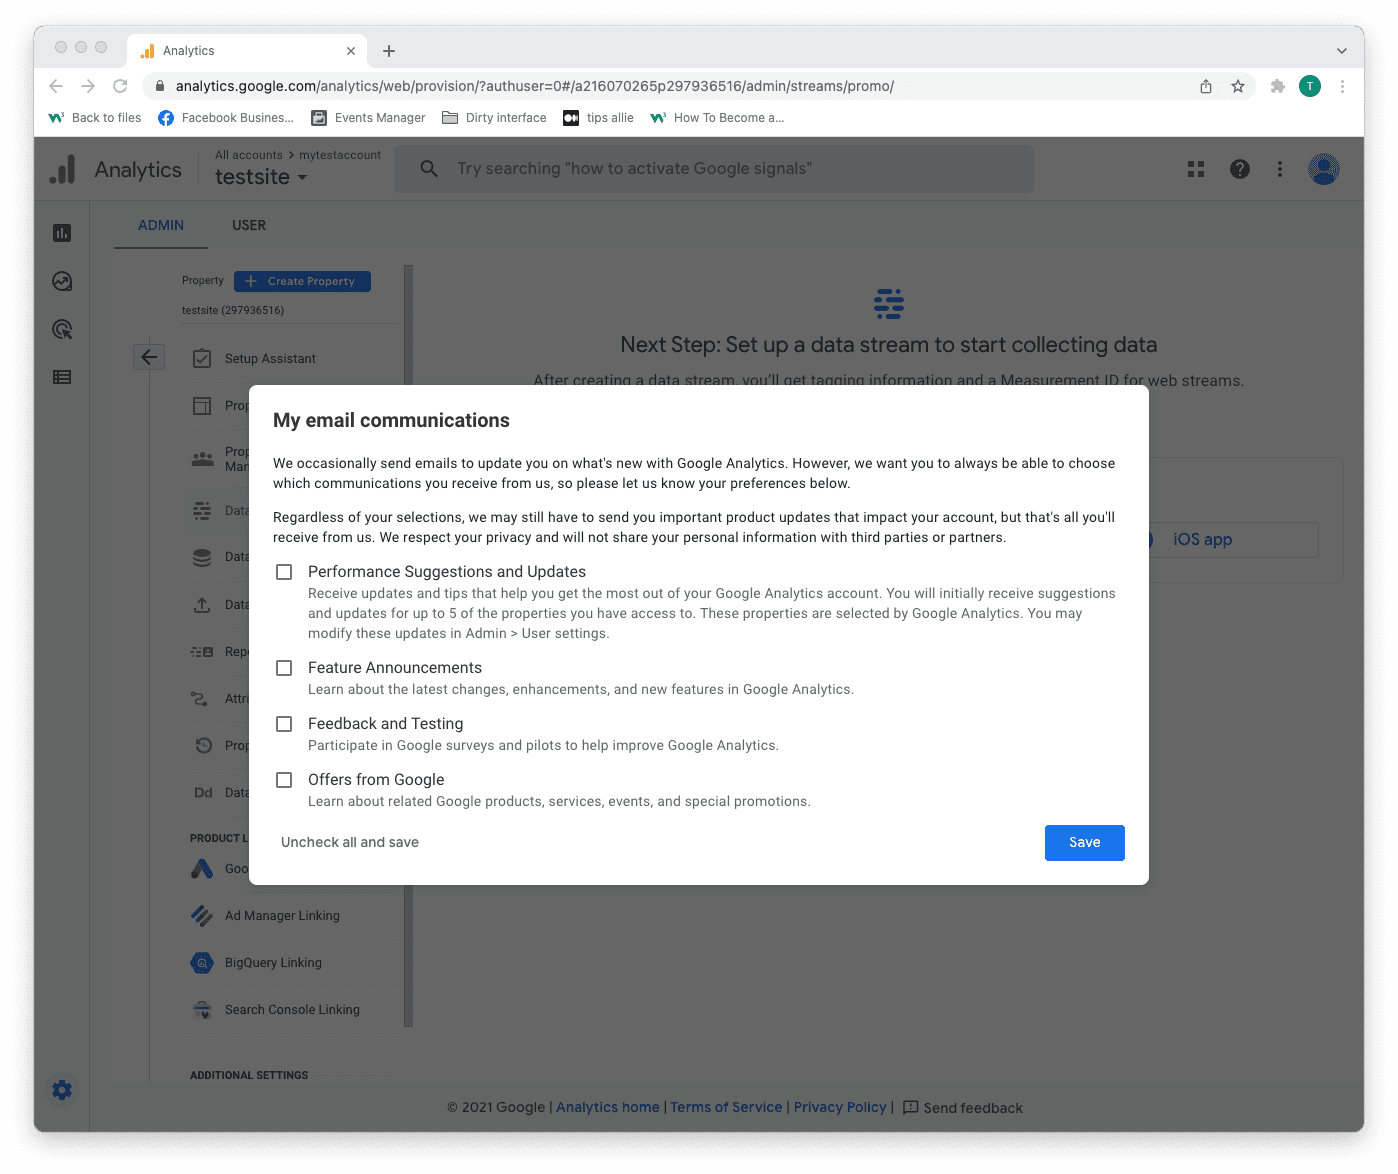
Step 7: Email subscriptions
- Tick or uncheck all boxes.
- Click the "Save" button to continue.
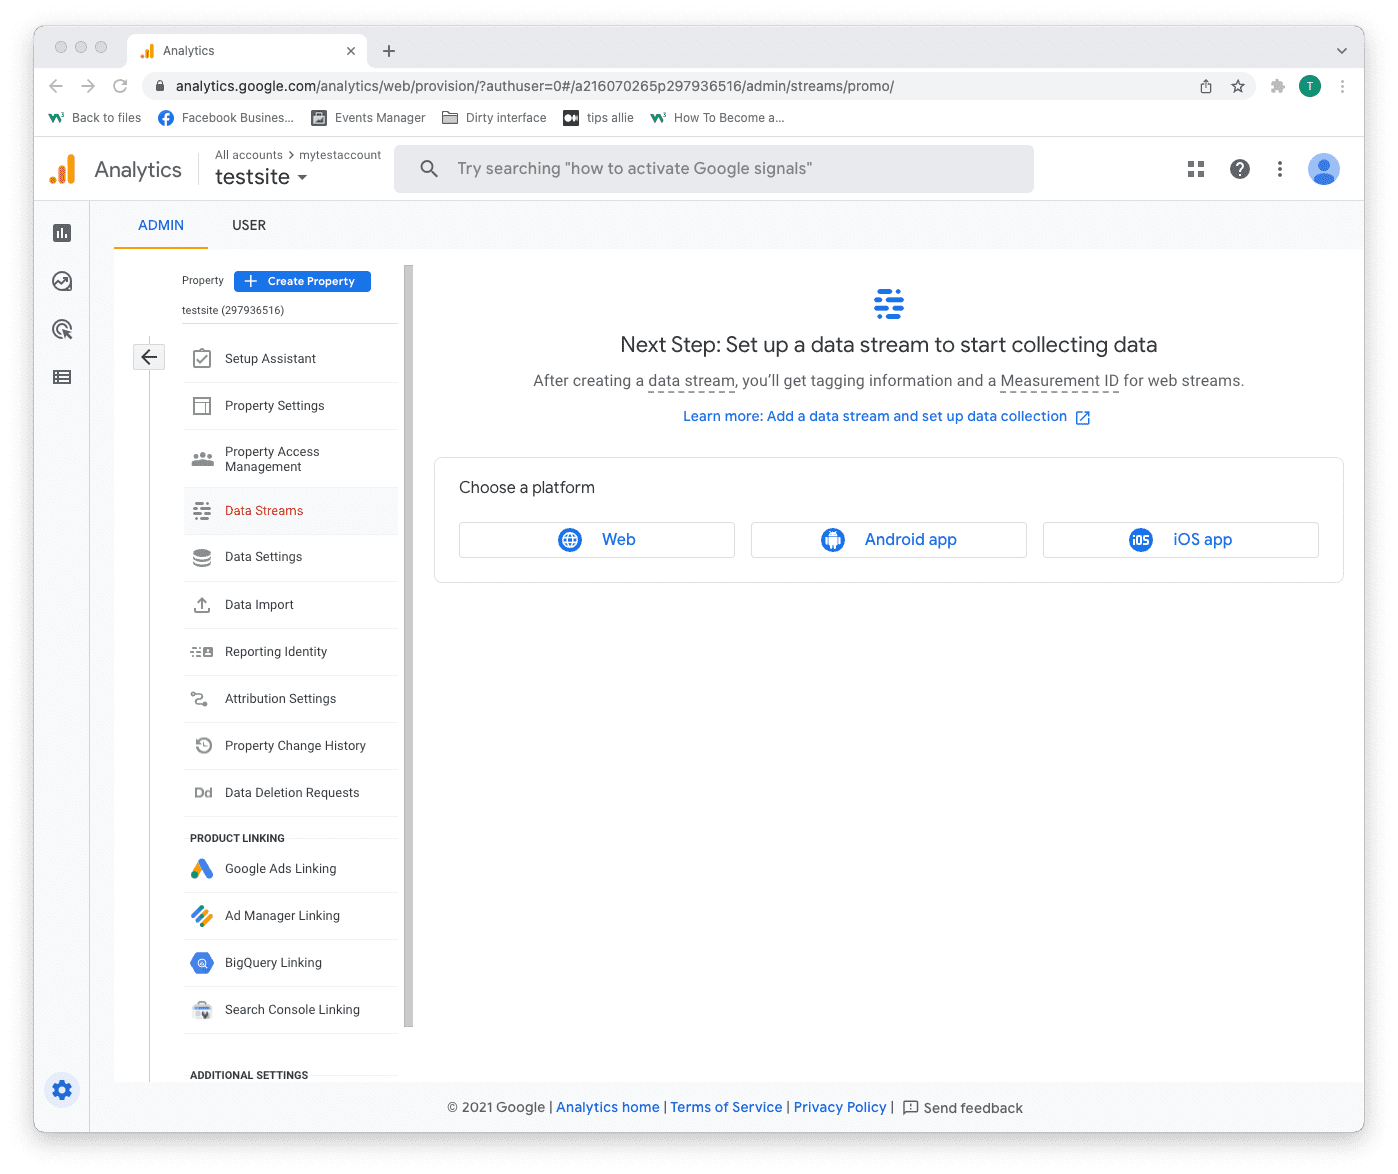
Step 8: Select platform
Chose the platform where you are collecting data.
Then, click the relevant platform to continue.
We are continuing with "Web" as the example in this tutorial.
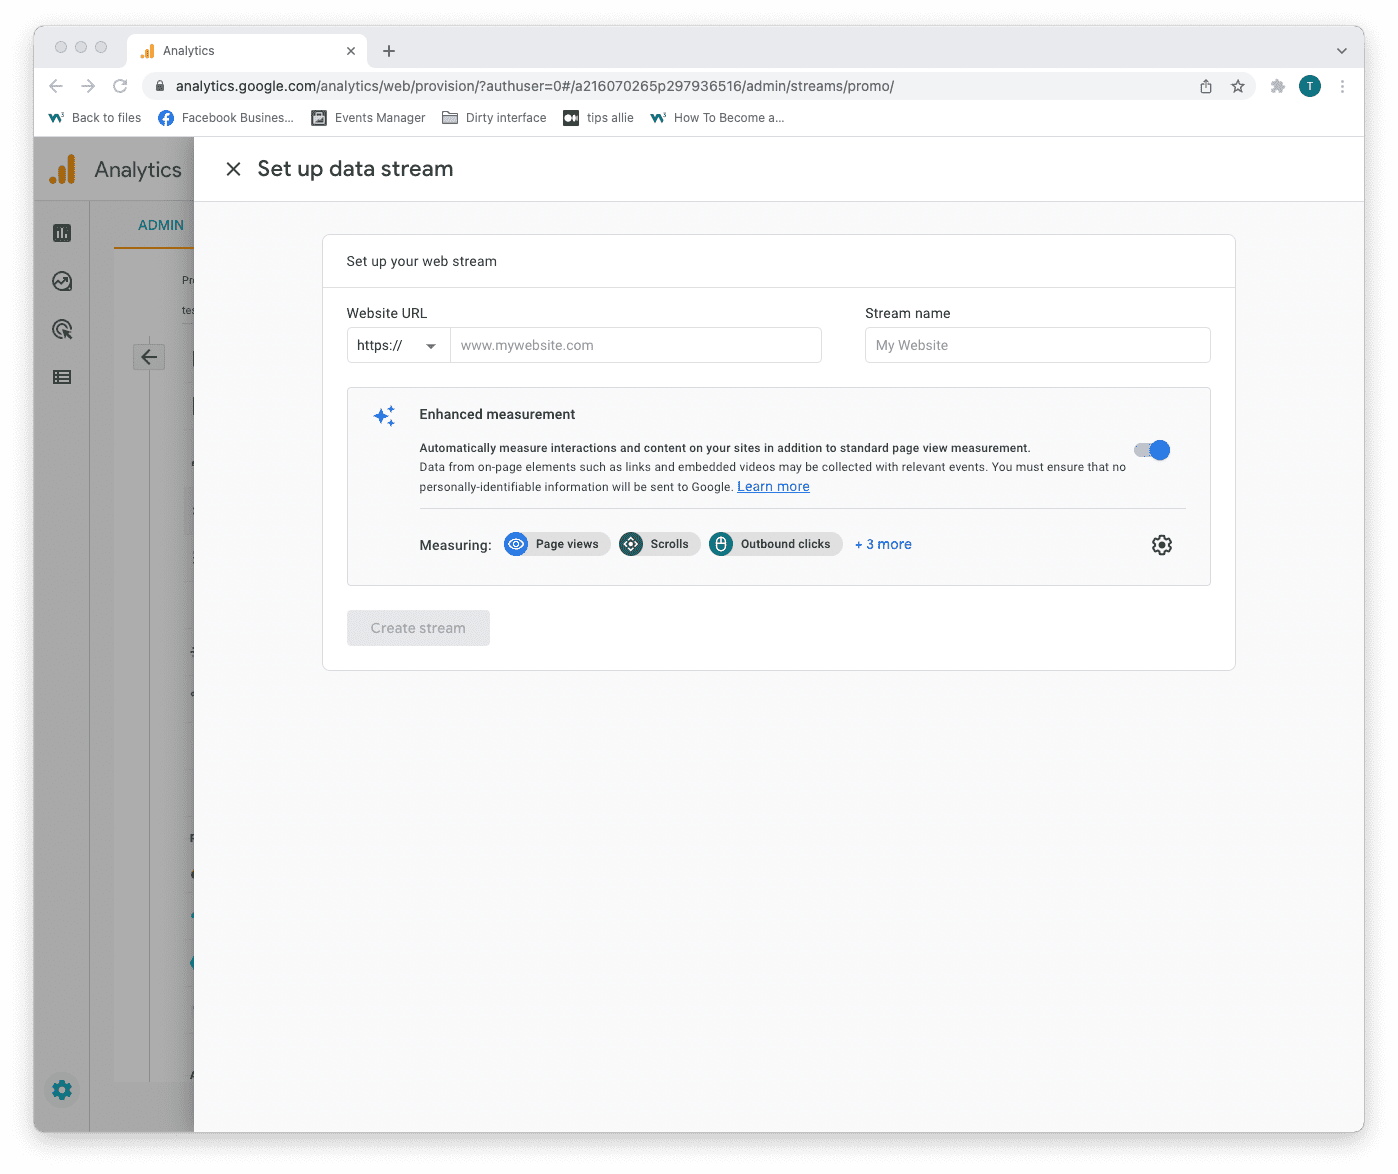
Step 9: Data stream setup
Enter data stream details.
- The URL to your site.
- The name that you want to give the stream.
- Decide if you are to enable enhanced measurement or not.
- Click on the "Create stream" button to continue.
The enhanced measurement can give the data more context. Improving your understanding of the traffic.
Step 10: Web stream overview
Here you can see a detailed overview of the web stream.
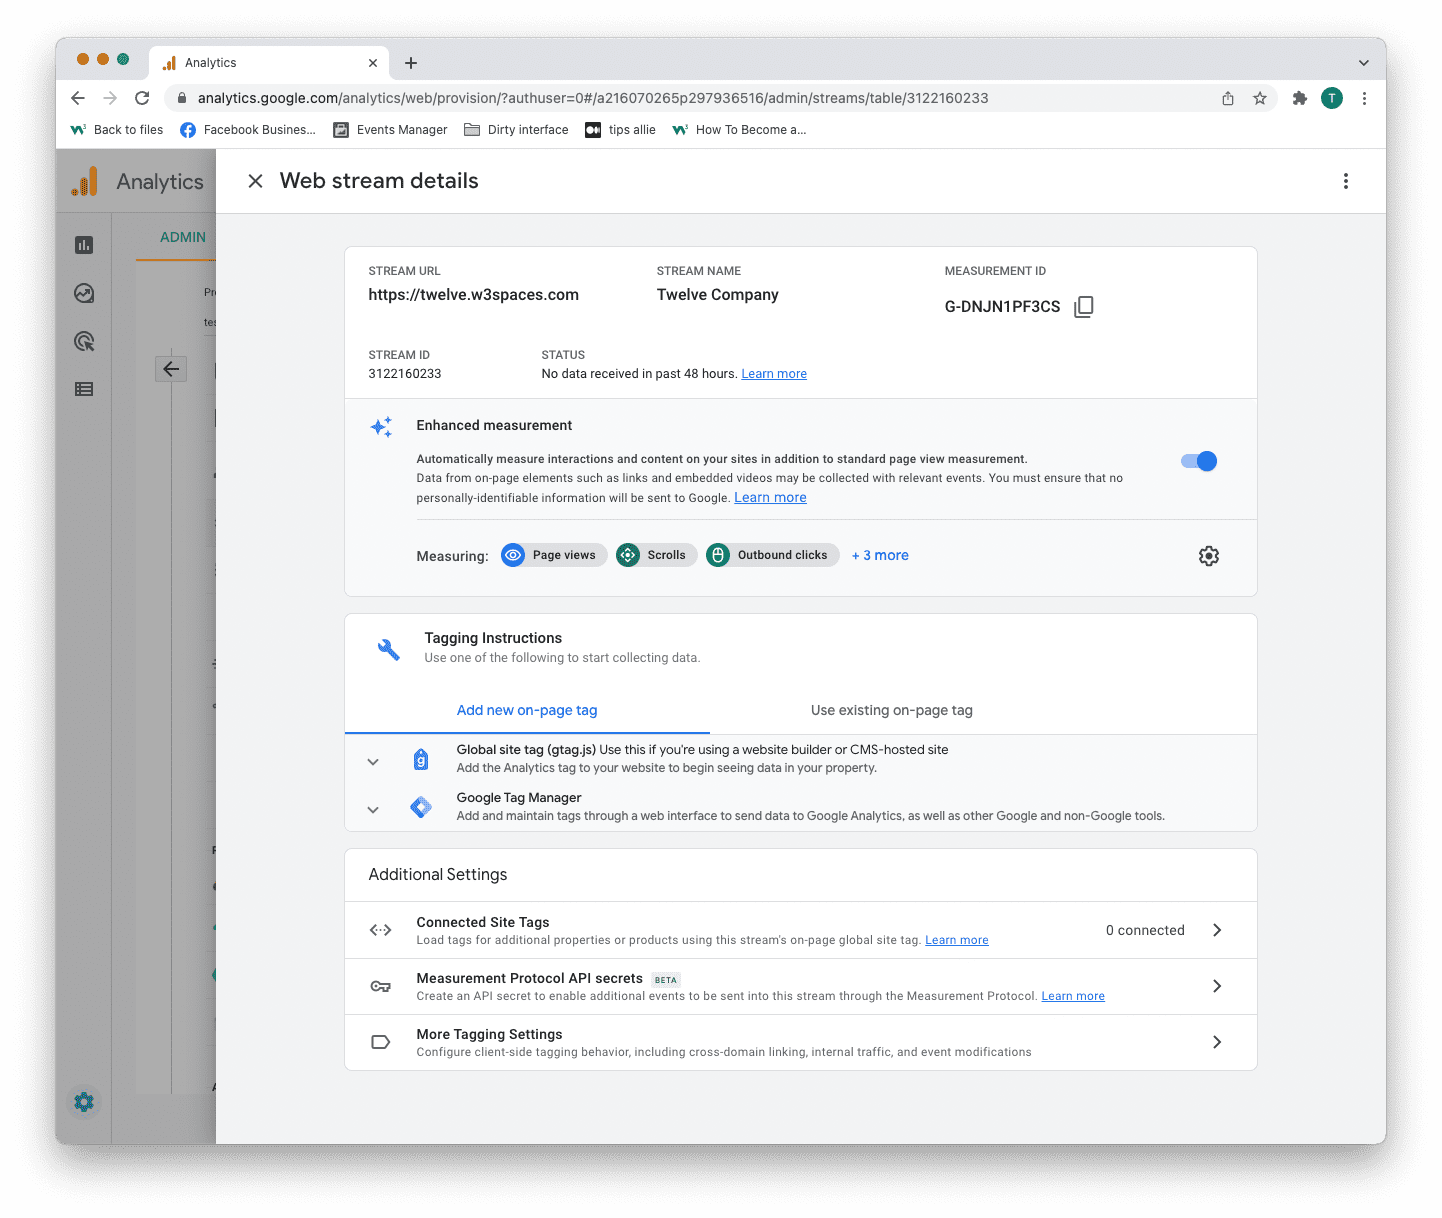
Here are the key takeaways from the overview.
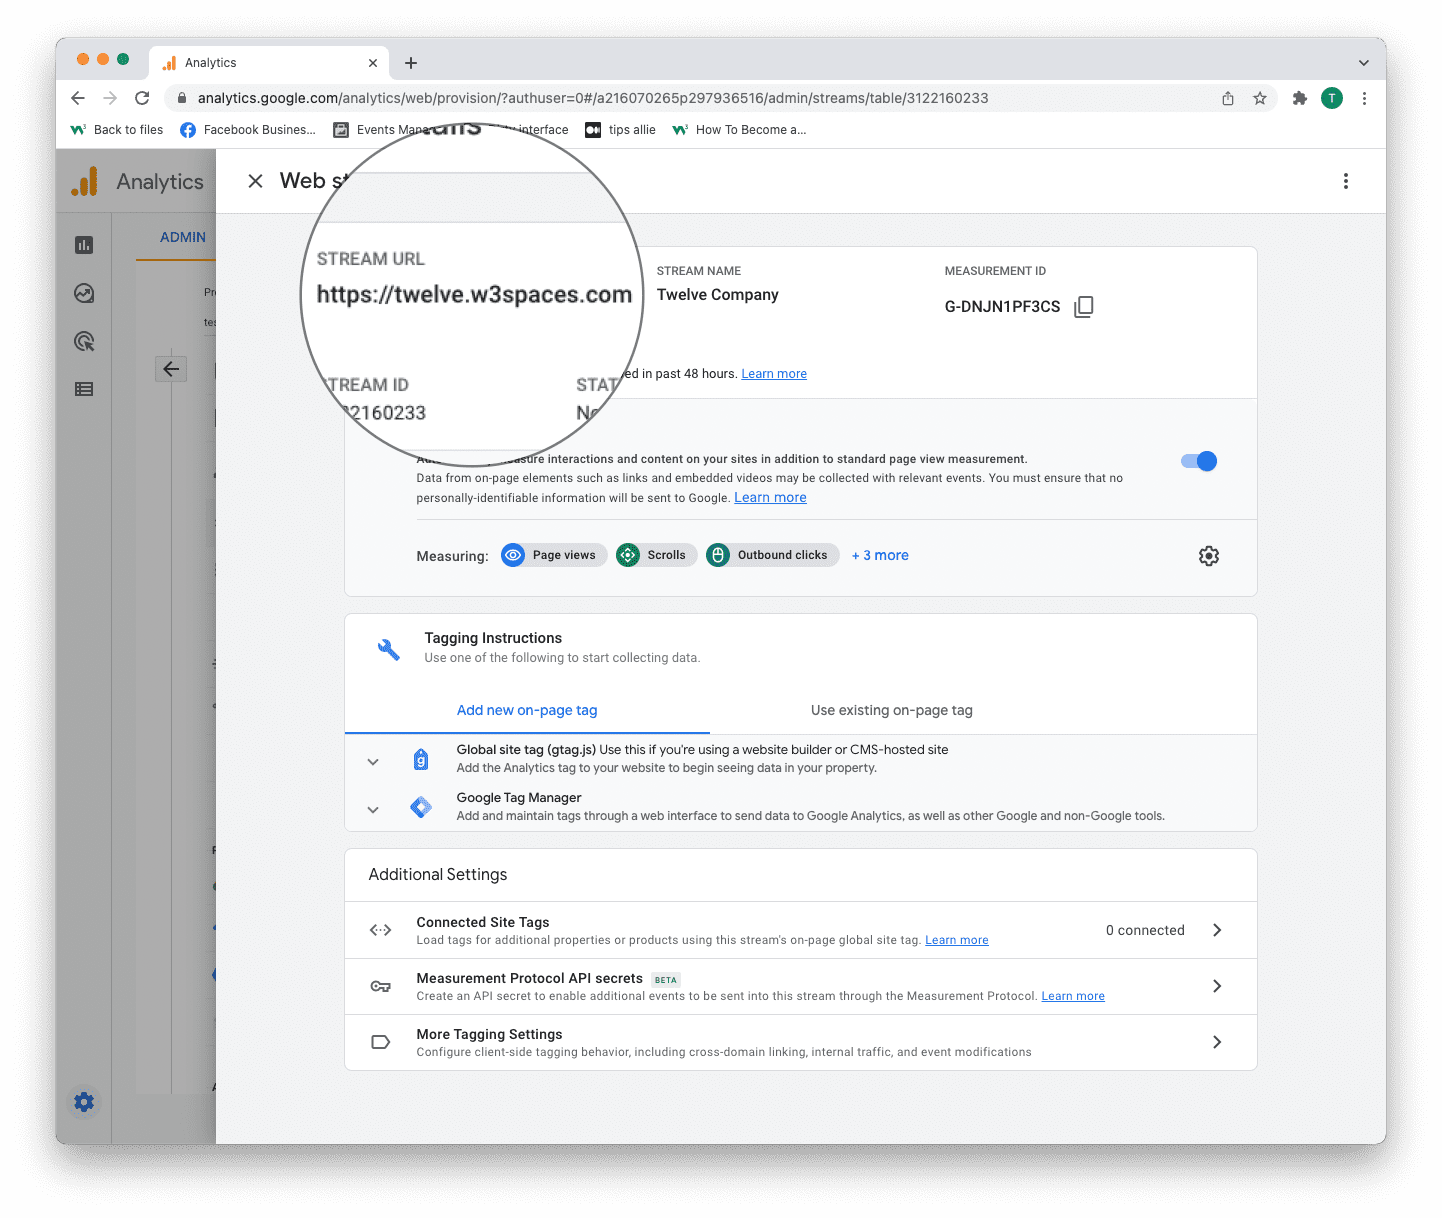
1. Stream URL.
The Stream URL is the link to the connected site.
2. Measurement ID
The Measurement ID is the identifier for your data stream.
It has a format of G-XXXXXXX.
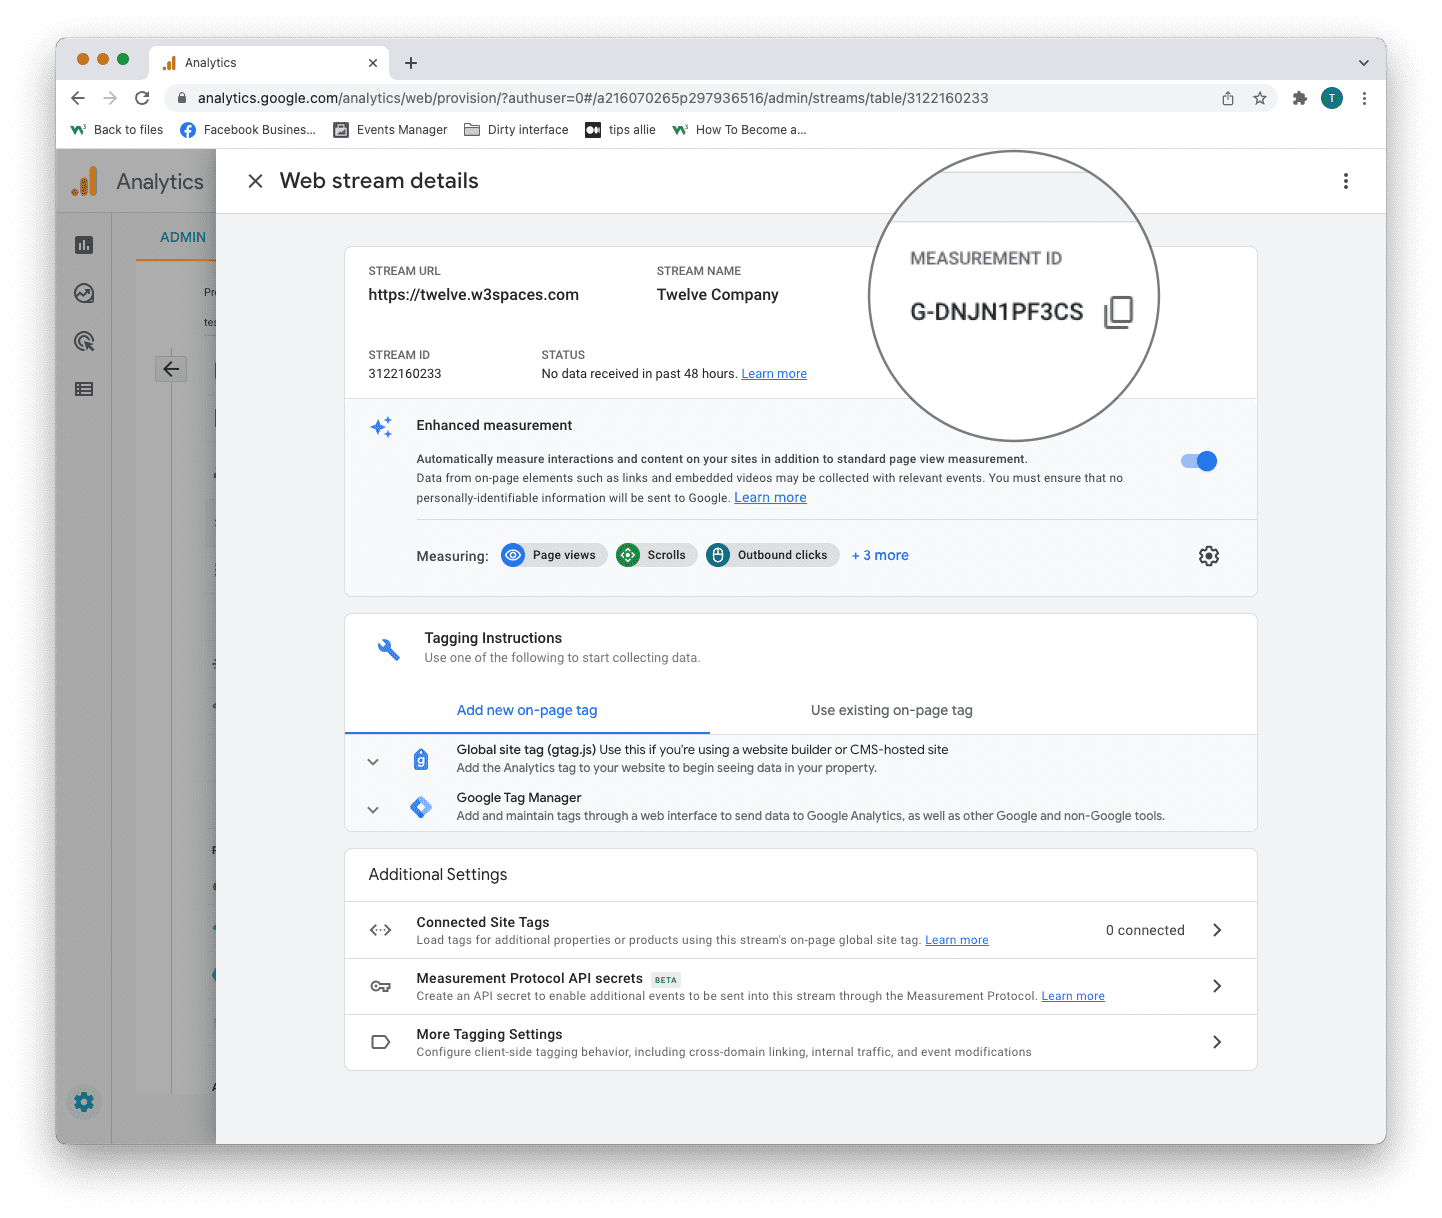
Google Analytics 4 uses Measurement ID. Older versions use Tracking ID. You can not have both.
3. Tagging instructions
Decide to use Global site tag (gtag.js) or Tag manager.
This tutorial will use the Global site tag.
Installing the Global site tag is the easiest and quickest way of getting it up and running.
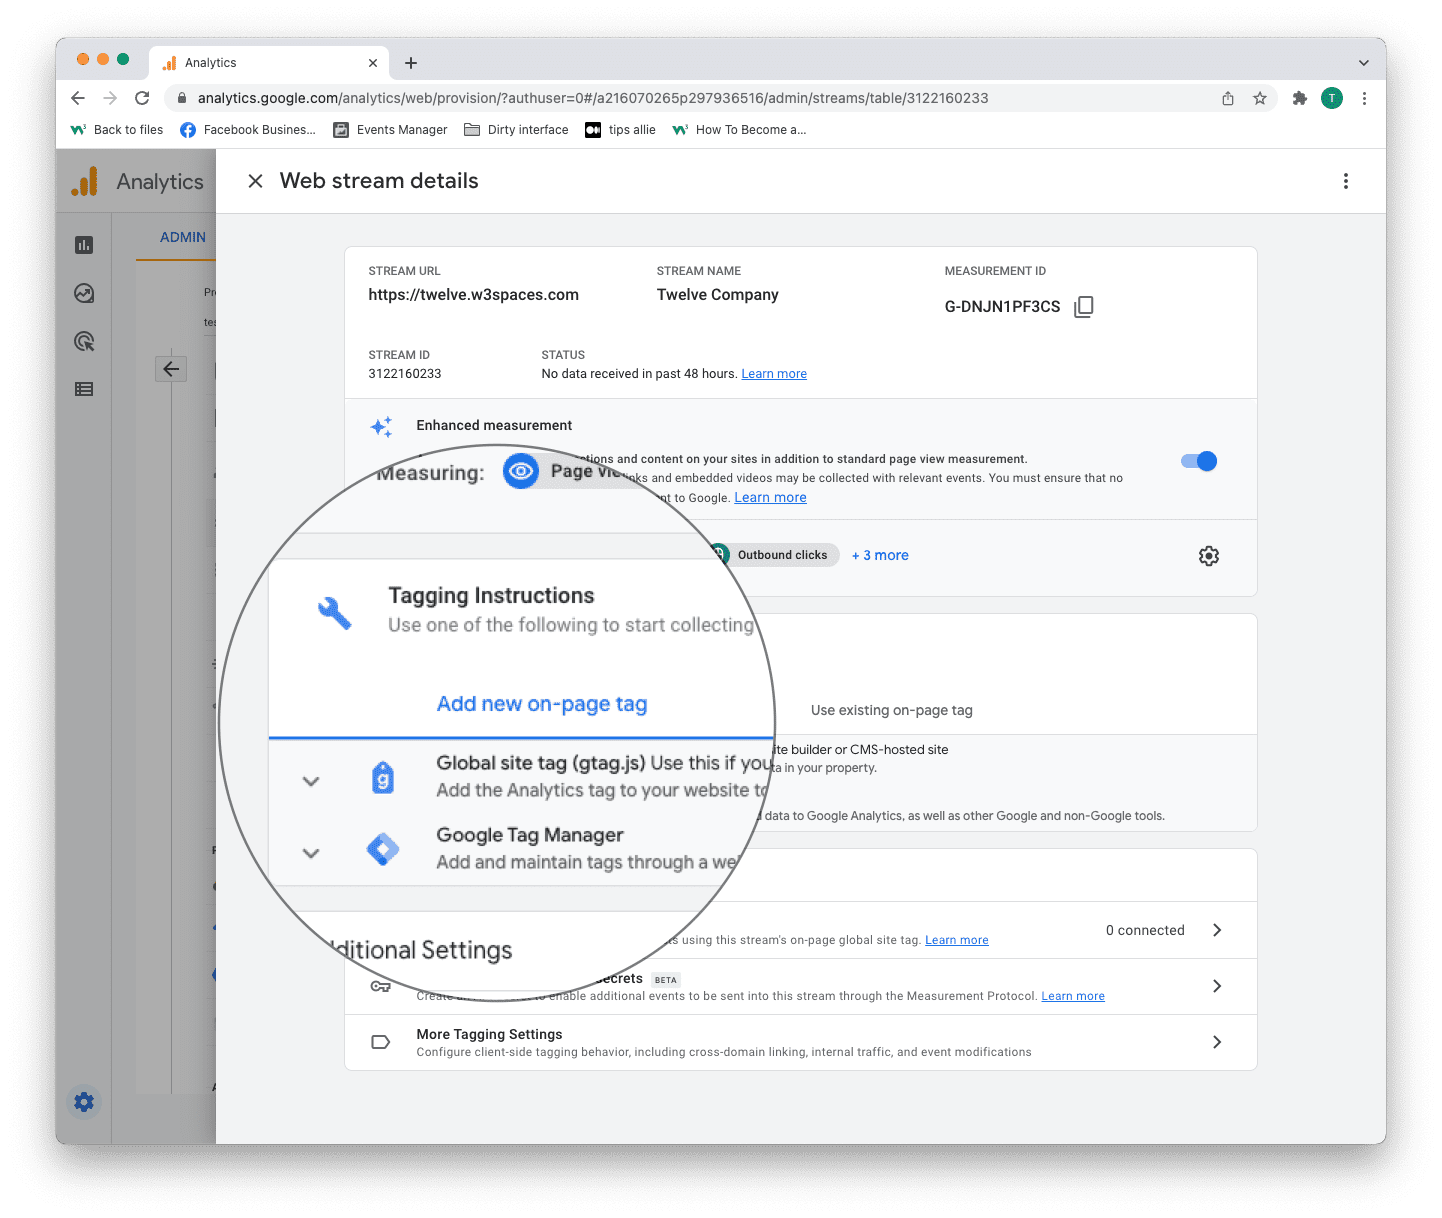
Step 11: Global site tag (gtag.js)
Click the "Global site tag (gtag.js)" row.
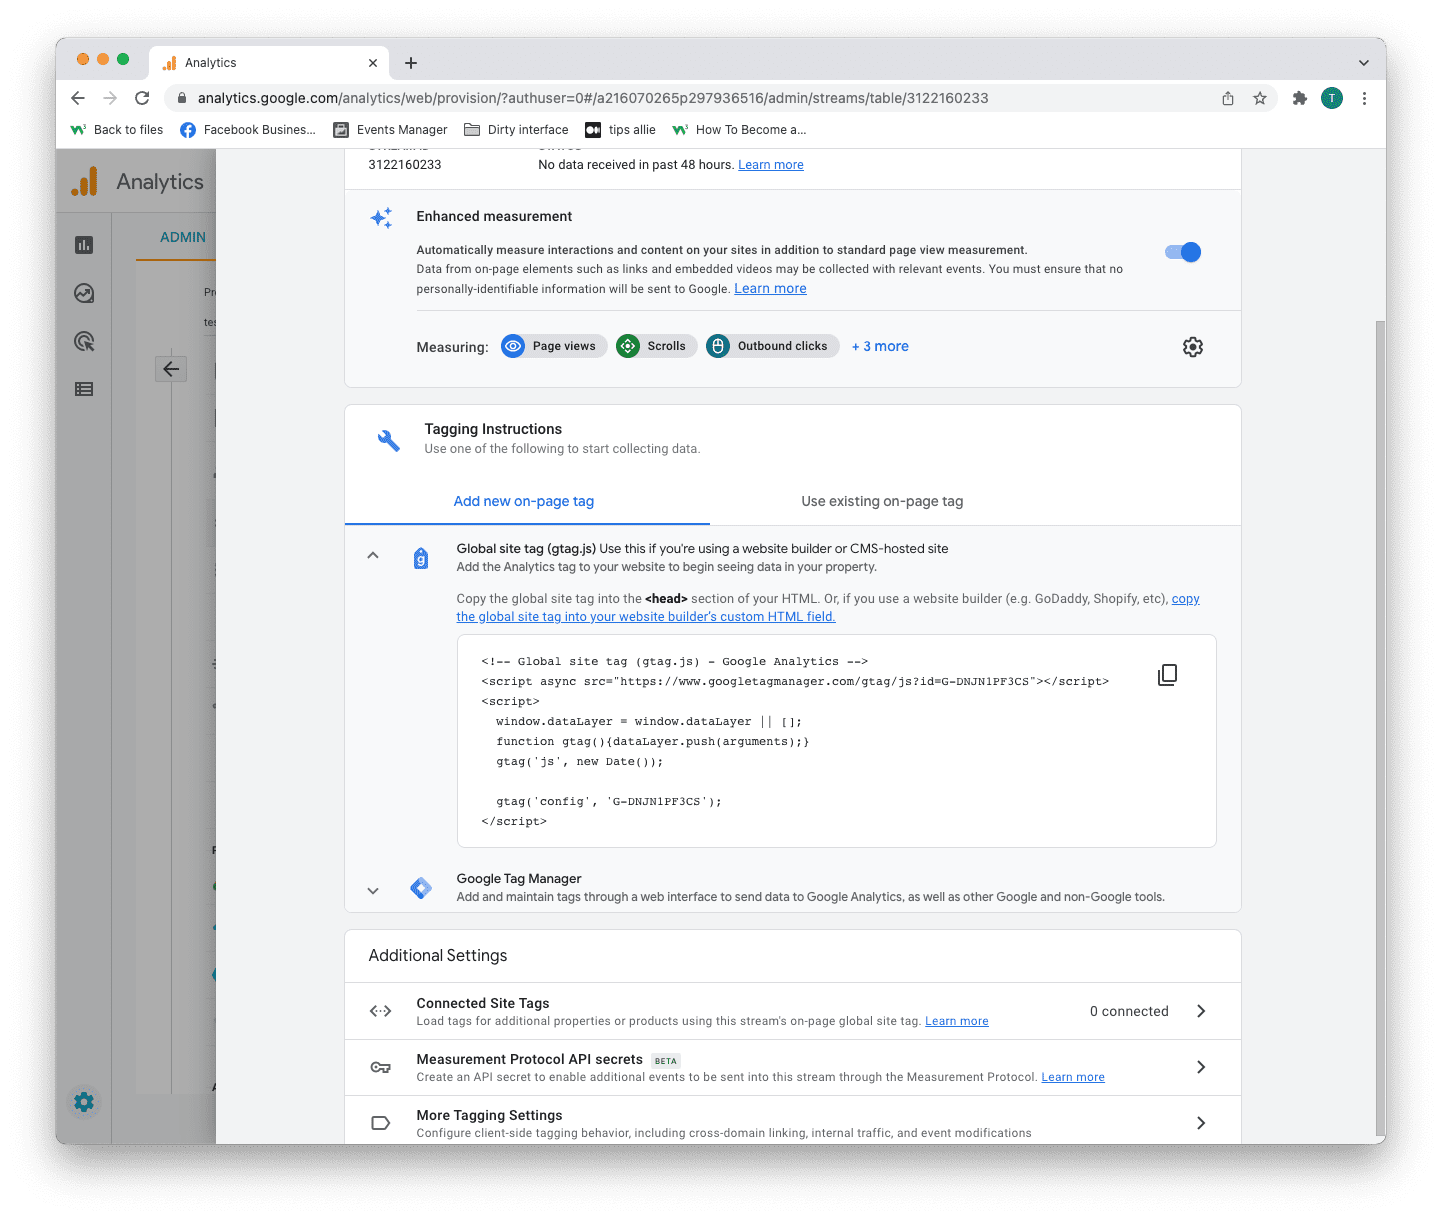
Here you can see a code snippet.
The code snippet is a script to allow Google to measure data on your site.
You can see the Measurement ID in the second last line in the code snippet.
The code snippet
<!-- Global site tag (gtag.js) - Google Analytics -->
<script async src="https://www.googletagmanager.com/gtag/js?id=G-DNJN1PF3CS"></script>
<script>
window.dataLayer = window.dataLayer || [];
function gtag(){dataLayer.push(arguments);}
gtag('js', new Date());
gtag('config', 'G-XXXXXXX');
</script>
Step 12: Enter the code snippet
Copy the code snippet.
Make sure to include your Measurement ID.
Locate the <head> tag in your HTML.
Paste the code snippet just below the <head> tag.
Save and publish the code.
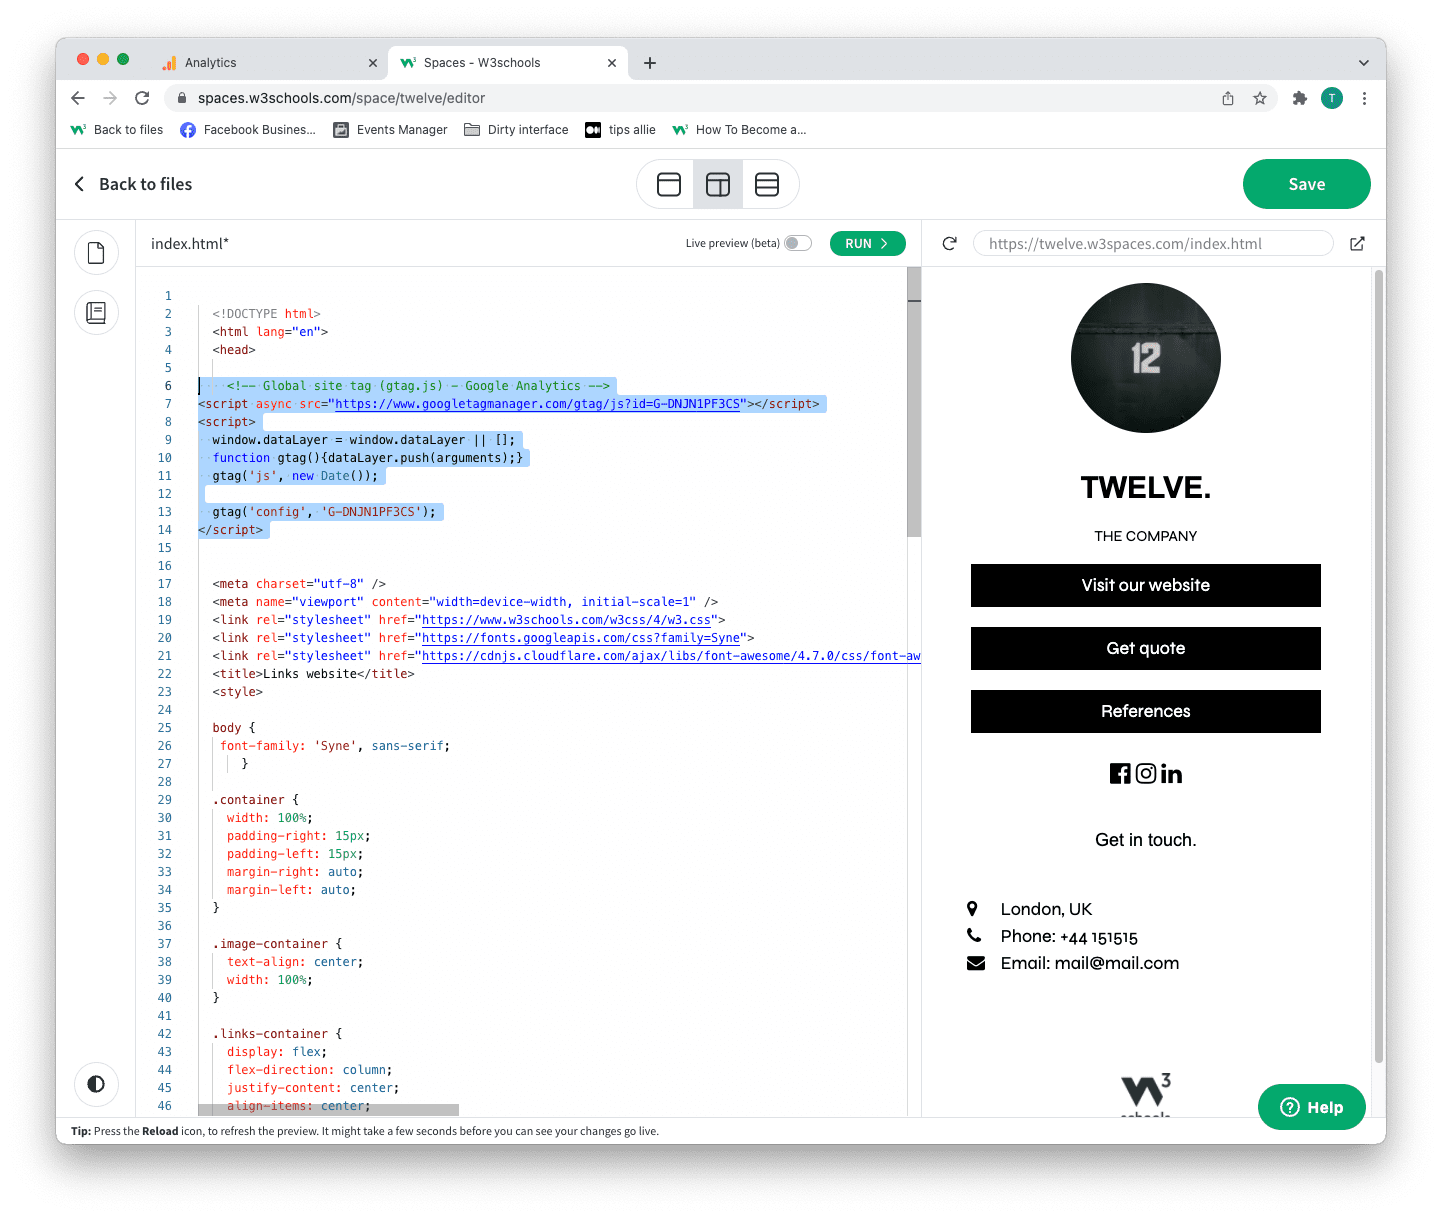
We used W3Schools Spaces in this example.
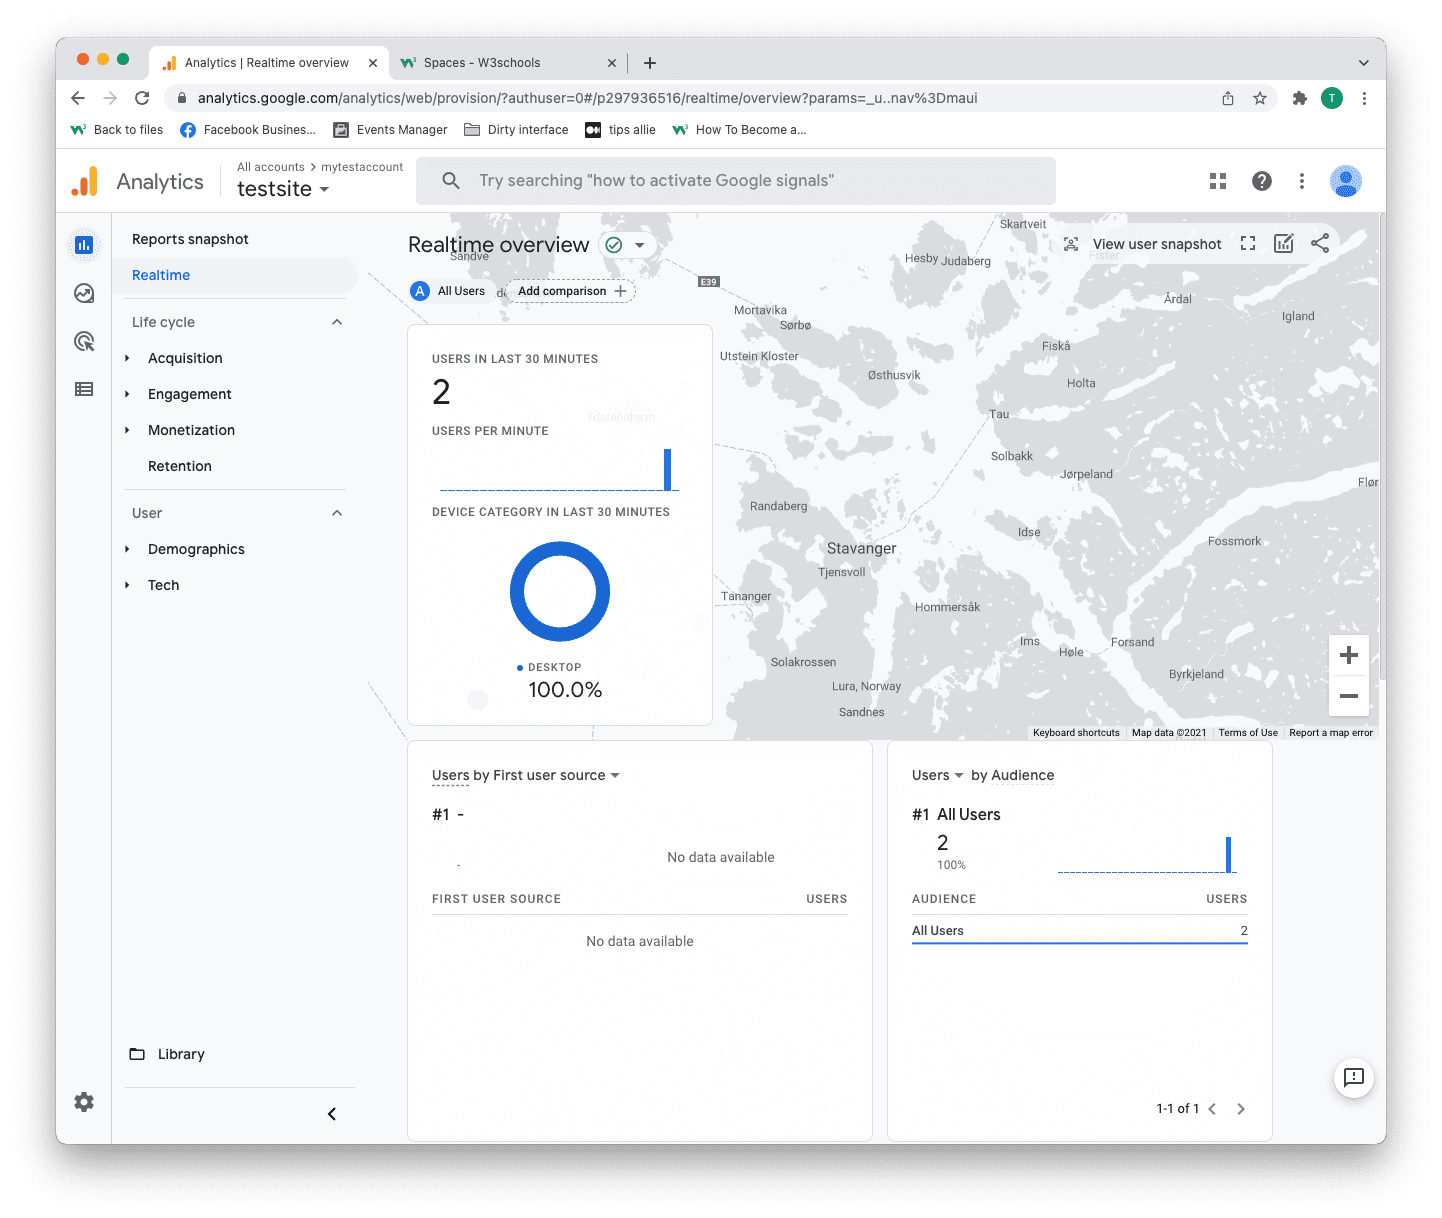
Step 13: Test that it works
Ensure that you have successfully saved and published the code snippet with the correct Measurement ID.
Open the URL for the site you have connected to the data stream.
Click on "Real time" on the menu to the left.
Confirm that you see yourself as an active user.
Congrats. You have successfully enabled Google Analytics for your site!
Explore Google Analytics
Recommended related topics are Tag manager and Events
Spend time in the service to learn about your user activity, commerce, demographics, device, and referrals.
Tip: Ever heard of W3Schools Spaces? It is a personal space where you can make a website from scratch or use a template and host it for free.
It has everything you need in the browser.
Get started in a few clicks.
Start now for free ❯* no credit card required